Sensory rooms have the power to transform everyday environments into places of comfort, focus, and discovery. Whether you want to provide a safe retreat from overstimulation, encourage exploration through touch and sound, or support therapeutic interventions, a sensory room can make it possible.
They’re widely used in schools, SEN settings, healthcare, and care homes to support wellbeing and learning. By combining light, sound, texture, scent and comfort, a sensory room becomes a valuable resource that can be adapted to a wide range of needs.
Step 1
Understand Your Users
The first step in designing your perfect sensory room is to identify exactly who will be using it. Consider:
- Age range and learning stage (Early Years, primary, secondary, adults)
- Main goals (calm and relaxation, stimulation, therapy, learning support)
- Sensory needs and preferences (light sensitivity, auditory triggers, tactile interests)
Talking to staff, therapists, and even the intended users can provide valuable insights before you start planning.
Step 2
Choose the Ideal Space
A sensory room doesn’t have to be large. A small, quiet space can be just as effective if it’s designed well. Think about:
- Shape and layout for equipment placement and movement flow
- Accessibility with clear pathways, smooth flooring, and inclusive furniture options
- Lighting control such as blackout blinds or dimmable fixtures
- Acoustic insulation to reduce external noise and distractions
Step 3
Plan the Sensory Elements
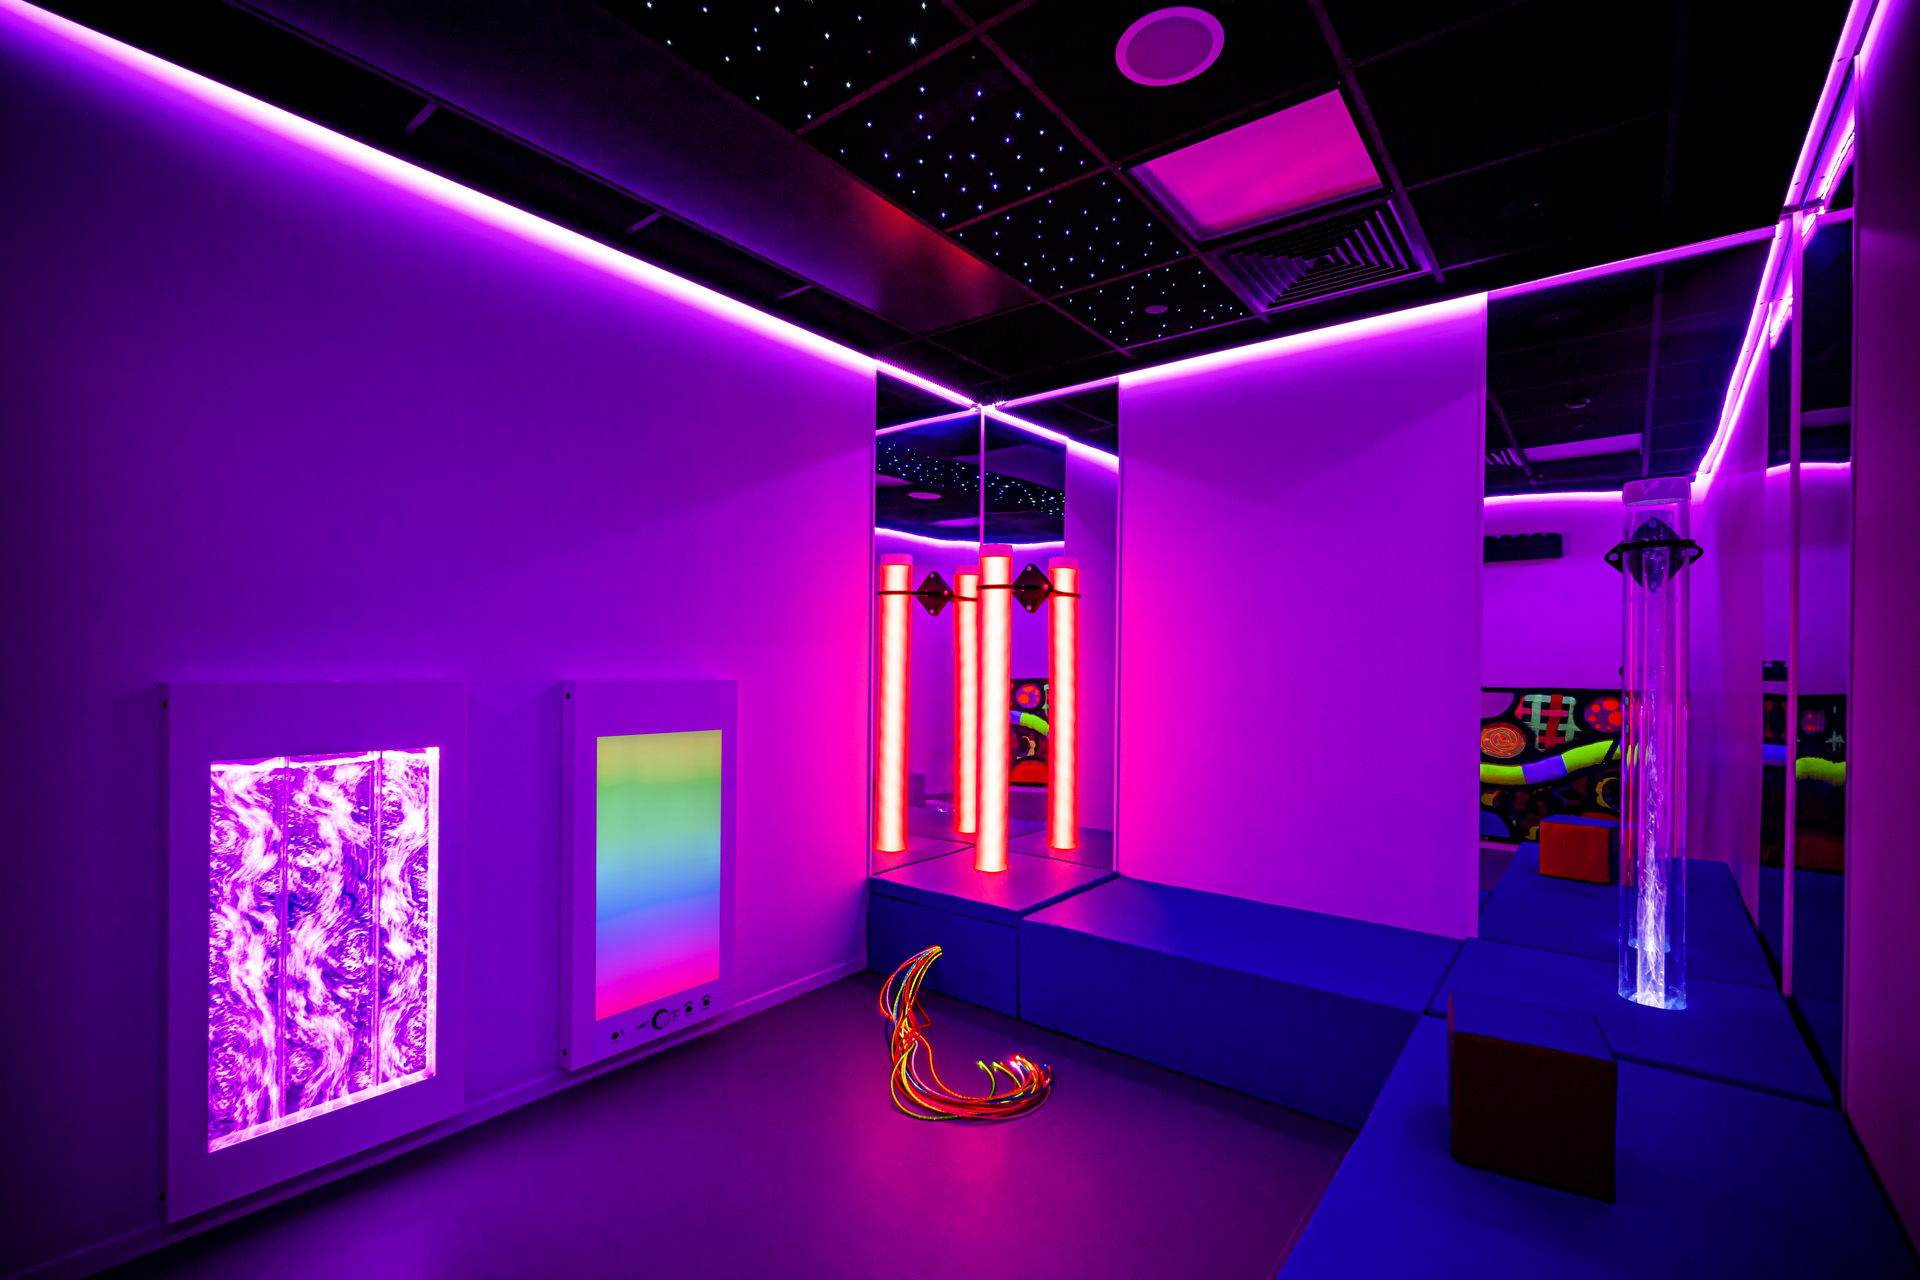
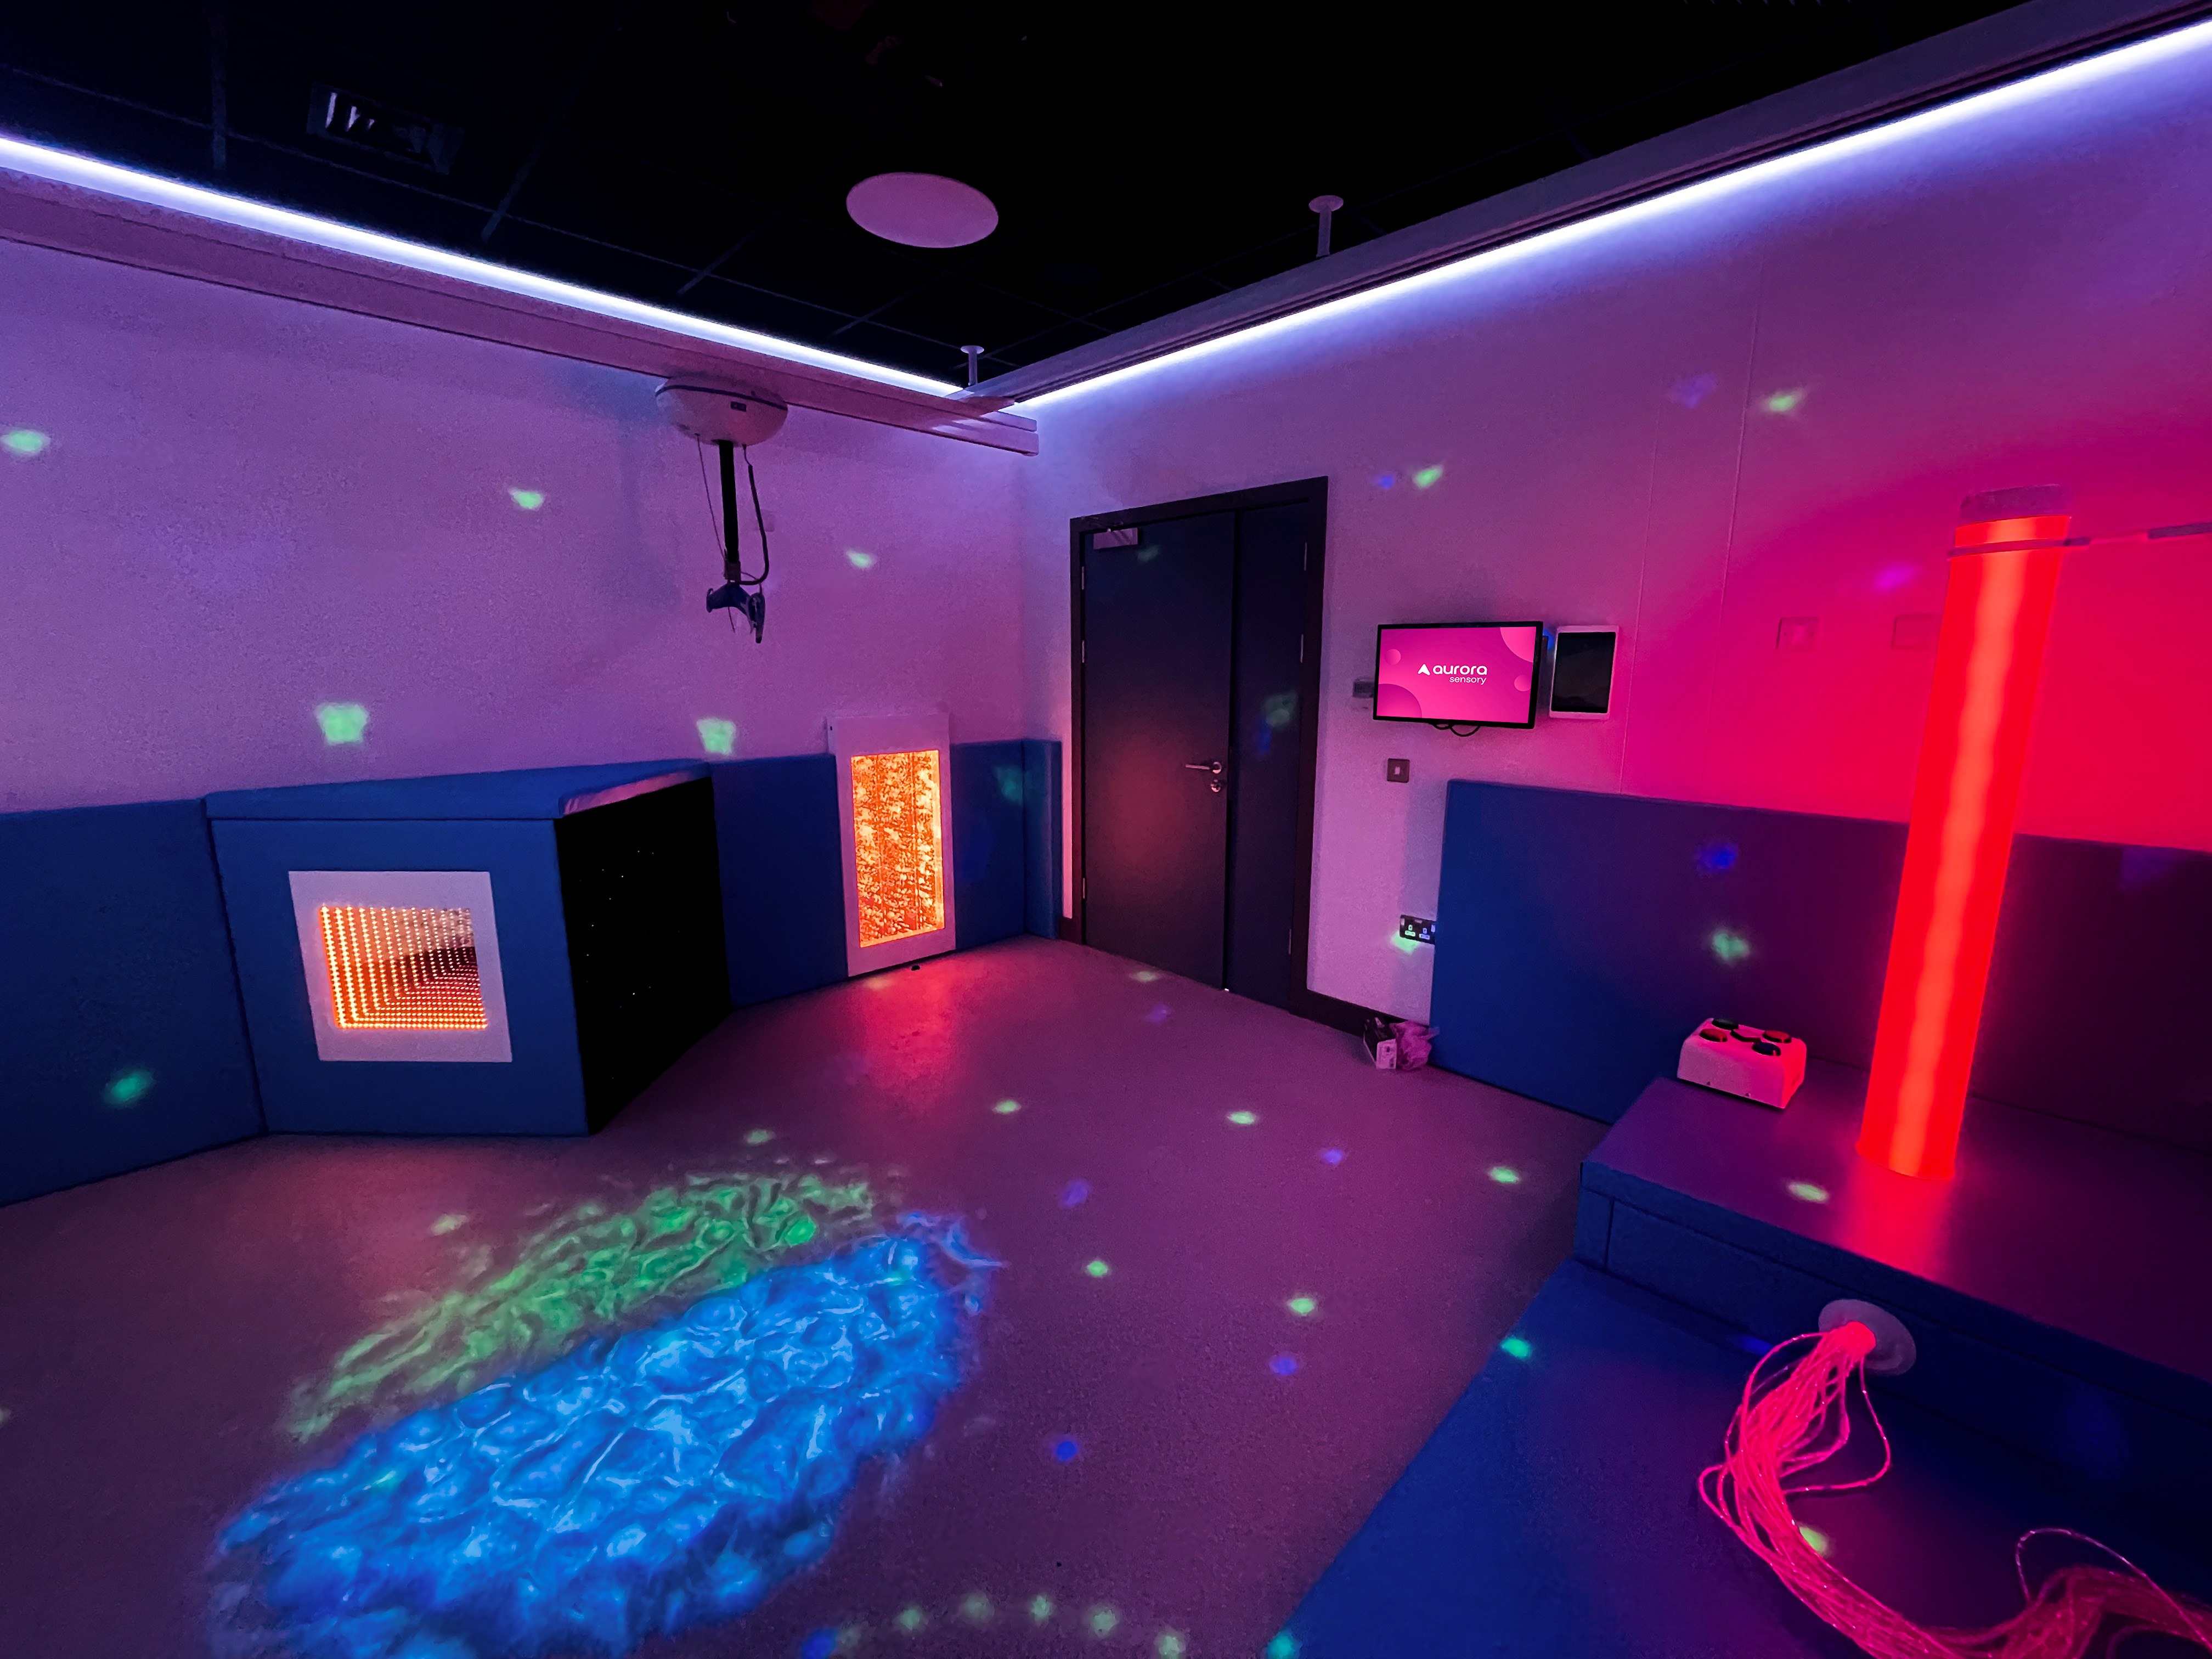
A balanced sensory room usually includes a mix of visual, auditory, tactile, and sometimes olfactory elements. You might consider:
- Fibre optic lighting: Sparkling strands that encourage visual tracking and calm.
- Bubble tubes: A focal point that combines light, movement, and gentle vibration.
- Projection: Transform walls into calming scenes or stimulating visuals.
- Interactive wall panels: Tactile features that promote fine motor skills and engagement.
- Comfortable seating: Beanbags, mats, or supportive chairs to encourage relaxation.
- Soothing soundscapes: Audio of nature or music to aid focus and emotional regulation.
- Scent diffusion: Calming lavender or energising citrus to enhance the atmosphere.
- Tactile surfaces: Rugs, textured panels and fabrics for hands-on exploration.
Step 4
Make It Inclusive
The most effective sensory rooms are designed for everyone. Keep inclusivity in mind by:
- Ensuring wheelchair-friendly layouts.
- Offering adjustable lighting and sound levels.
- Choosing equipment suitable for a range of ages and abilities.
- Providing simple, intuitive controls for staff.
Step 5
Make It Part of Everyday Life
The most effective sensory rooms are those that are used regularly. Make the sensory room a part of the daily routine, not reserved for special occasions. For example:
- Schools can timetable sessions for pupils who need regulation breaks.
- SEN settings may use the space for targeted interventions or group activities.
- Care homes and hospitals might schedule it for therapy, relaxation, or social connection.
The more regularly the room is used, the greater its impact.
Step 6
Measure the Impact
Once your sensory room is in use, evaluate its effectiveness. Gather feedback from staff, pupils, and service users. Look for improvements in:
- Emotional regulation and behaviour.
- Engagement in lessons or therapy sessions.
- Communication and social interaction.
- Overall wellbeing and comfort.
This insight will help you make adjustments, ensuring the space evolves with the needs of its users.
Bring Your Vision to Life